
How to Level a Second Level Floor During a Kitchen Remodel
Why This Matters for Homeowners
Leveling a second level floor during a kitchen remodel is a critical task that can significantly impact the functionality and aesthetics of your home. Many homeowners underestimate the importance of a level floor, often thinking it is merely a cosmetic issue. However, an uneven floor can lead to a series of problems, including:
- Increased wear and tear on flooring materials
- Difficulty in installing cabinets and appliances
- Complications with plumbing and electrical systems
- Potential safety hazards, such as tripping
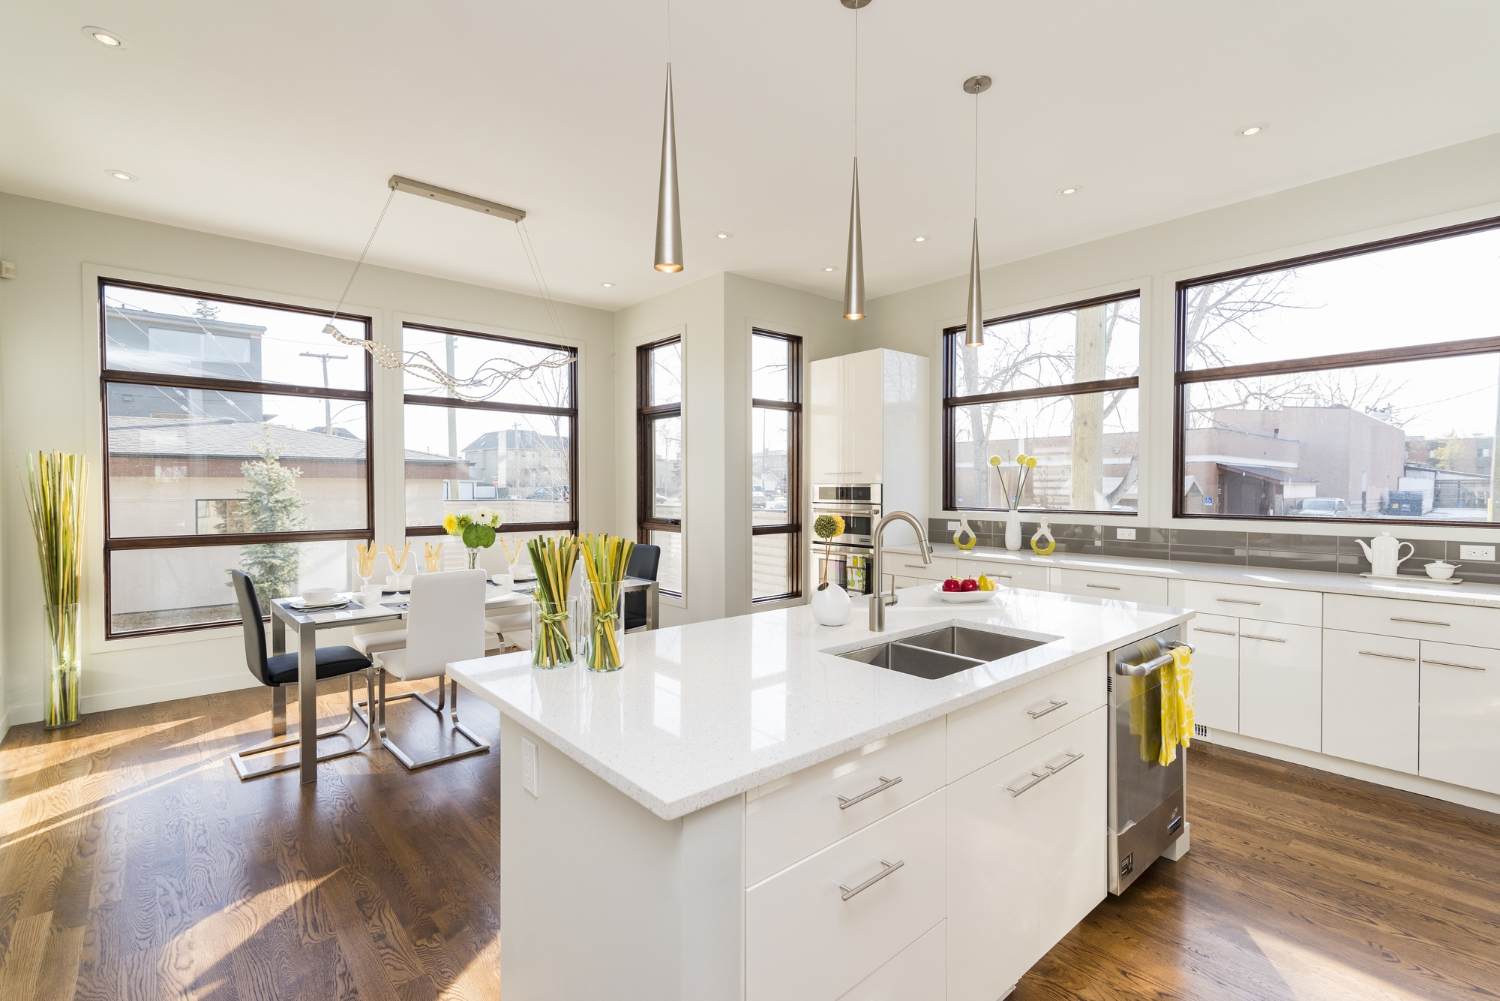
This task is especially essential when remodeling a kitchen, as the kitchen is one of the most frequently used spaces in a home. An uneven floor can disrupt the flow of the room, making it less functional for cooking and entertaining.
Broader Factors Influencing the Process
Several broader factors come into play when considering how to level a second level floor during a kitchen remodel. These include:
- Money: The cost of leveling a floor can vary significantly based on the method used, materials required, and whether you hire a professional or do it yourself. It’s crucial to budget appropriately, as unexpected expenses can arise.
- Time: Leveling a floor is not a quick task. Depending on the method chosen and the extent of the unevenness, it can take anywhere from a few hours to several days. Homeowners must factor this into their remodeling timeline.
- Design: The design of your kitchen can be affected by the floor’s levelness. For example, if you plan to install large cabinets or an island, a level floor is essential for proper installation and function.
- Regulations: Local building codes may have specific requirements regarding floor leveling, especially if you are making structural changes. It’s important to check these regulations to avoid potential fines or issues during inspections.
Understanding these factors can help homeowners make informed decisions about their kitchen remodel and ensure a successful leveling process. Whether you are a DIY enthusiast or prefer to hire a contractor, knowing what to expect can save you time, money, and frustration in the long run.
How to Level a Second Level Floor During a Kitchen Remodel
Assessing the Current Floor Condition
Before you can level a second-level floor, you need to assess its current condition. This is a crucial first step that will inform your approach and help you identify any underlying issues.
Identifying Uneven Areas
Use a level tool to check for unevenness across the floor. Mark areas that are more than 1/8 inch off level over a 10-foot span, as these are significant enough to require attention.
- Look for sagging or sloping sections, which may indicate structural issues.
- Examine the subfloor for any signs of damage, such as rot or water damage.
Calculating the Extent of Work Required
Once you have identified the uneven areas, you can estimate the amount of work needed. For instance, if you find that a section of the floor is 1 inch lower than the rest, you will need to raise that area accordingly.
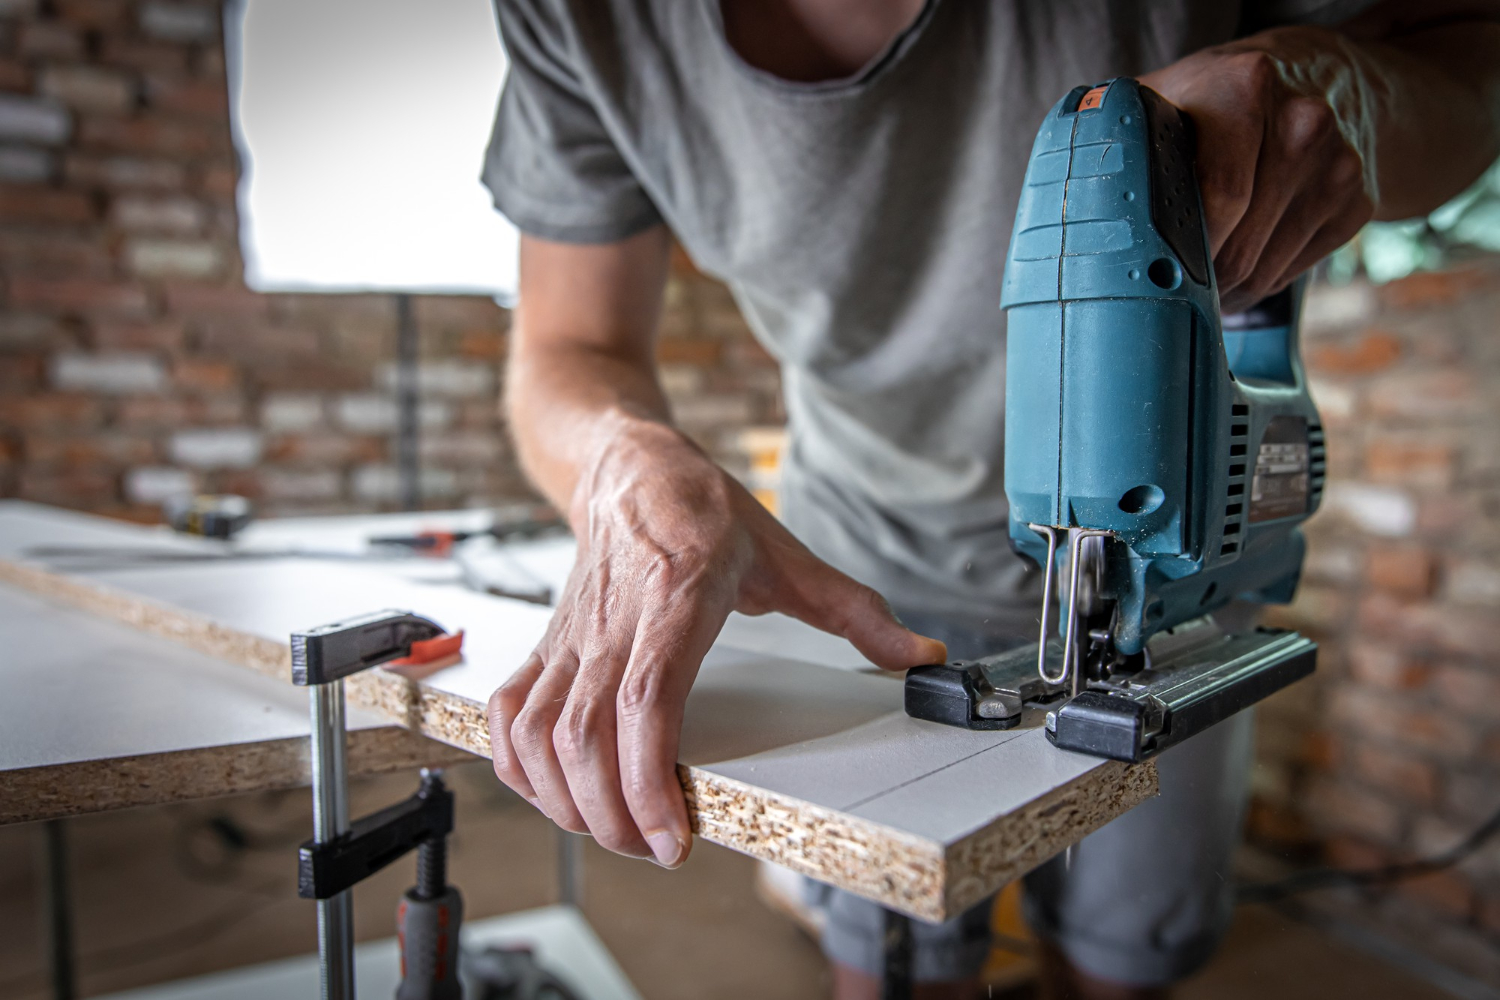
Choosing the Right Leveling Method
There are several methods to level a second-level floor, each with its pros and cons. Your choice will depend on the severity of the unevenness, your budget, and your skill level.
Self-Leveling Compound
Self-leveling compounds are a popular choice for minor to moderate unevenness. These materials are poured over the existing floor and will flow to create a flat surface.
- Cost: Approximately $1.50 to $3 per square foot.
- Timeline: Generally, this process can be completed in a day, but you will need to allow 24 to 48 hours for the compound to cure before walking on it.
Shimming
For more significant unevenness, shimming may be necessary. This involves placing thin wooden or composite shims under the floor joists to raise the low areas.
- Cost: Shims typically cost around $0.50 to $1 per shim, but labor costs can add up if you hire a contractor.
- Timeline: This method may take a couple of days, depending on how many shims are needed and the complexity of the installation.
Reinforcing Joists
In cases where the floor is sagging due to structural issues, reinforcing the joists may be necessary. This involves adding additional joists or blocking between existing joists.
- Cost: Reinforcing joists can range from $100 to $300 per joist, depending on the material and labor costs.
- Timeline: This can take several days, especially if significant structural work is involved.
Preparing for Installation
Once you have chosen your leveling method, preparation is key.
Clearing the Area
Remove all furniture, appliances, and flooring materials from the kitchen. This will give you a clear workspace and prevent any damage to your belongings.
Ensuring Proper Ventilation
If you are using self-leveling compounds or adhesives, ensure the area is well-ventilated to avoid inhaling harmful fumes. Open windows and use fans if necessary.
Executing the Leveling Process
Now that you are prepared, it’s time to execute the leveling process.
Applying Self-Leveling Compound
If you opted for self-leveling compound, mix it according to the manufacturer’s instructions and pour it into the lowest areas. Use a trowel to help spread it evenly.
Installing Shims
For shimming, carefully slide the shims under the joists in the identified low areas. Make sure to check with a level tool regularly to ensure evenness.
Reinforcing Joists
If reinforcing joists, carefully install additional joists or blocking, ensuring they are securely fastened and level with the existing joists.
Final Steps and Considerations
After leveling the floor, there are a few final steps to consider before moving on with your kitchen remodel.
Allowing for Curing Time
If you used a self-leveling compound, allow the necessary curing time before proceeding. This is critical to ensure the stability of the new surface.
Checking for Levelness Again
Once everything is cured and set, recheck the levelness of the floor to confirm that your efforts were successful. Use a long level for accuracy.
Planning for Flooring Installation
With a level floor in place, you can now proceed with your kitchen remodel. Be sure to choose flooring materials that are suitable for kitchen environments and compatible with your leveling method.
Actionable Advice for Leveling a Second Level Floor During a Kitchen Remodel
DIY vs. Professional Work
When it comes to leveling a second-level floor, homeowners often face the decision of whether to tackle the project themselves or hire a professional. Each option has its advantages and disadvantages.
DIY Approach

Taking the DIY route can save money but requires a good understanding of the process.
- Cost Savings: You can save on labor costs, which can be significant. Materials for DIY leveling can range from $1.50 to $3 per square foot for self-leveling compounds.
- Skill Development: Completing the project yourself can enhance your skills and give you a sense of accomplishment.
- Flexibility: You can work at your own pace and schedule, making it easier to fit into your life.
Professional Work
Hiring a professional can ensure the job is done correctly and efficiently.
- Expertise: Professionals have the knowledge and experience to identify underlying issues that may not be apparent to a novice.
- Time Efficiency: A professional can complete the job faster than an inexperienced homeowner.
- Warranty: Many contractors offer warranties on their work, providing peace of mind.
Budget vs. Premium Remodel
Understanding the budget implications of your leveling project is essential for a successful remodel.
Budget Leveling Options
For homeowners looking to save money, there are several budget-friendly options available.
- Self-Leveling Compound: As previously mentioned, this is an affordable option for minor unevenness.
- Shimming: Using shims is a low-cost method that can effectively address moderate unevenness.
Premium Leveling Options
If you have a larger budget, consider premium options that may provide long-term benefits.
- Structural Reinforcement: Investing in reinforcing joists can prevent future issues and ensure the longevity of your floor.
- High-Quality Materials: Opting for premium self-leveling compounds can result in a smoother finish and better performance.
Common Mistakes to Avoid
Avoiding common pitfalls can save you time, money, and frustration during the leveling process.
- Neglecting to Assess the Subfloor: Failing to check for damage can lead to further complications down the line.
- Skipping the Level Check: Not checking for levelness after the initial work can result in an uneven surface.
- Using Inadequate Materials: Cheap materials can lead to poor results and may require rework.
Insider Tips for Success
Here are some insider tips that can help ensure your leveling project goes smoothly.
- Use a Laser Level: This tool can provide more accurate measurements than a traditional level, especially over larger areas.
- Mix Self-Leveling Compound Properly: Following the manufacturer’s instructions precisely is crucial for optimal results.
- Allow for Adequate Curing Time: Rushing this step can lead to cracks and instability.
Comparison Table: DIY vs. Professional Work
| Aspect | DIY Approach | Professional Work |
|---|---|---|
| Cost | Lower, save on labor | Higher, includes labor costs |
| Time | Variable, depends on skill | Typically faster due to experience |
| Quality | Depends on skill level | Generally higher quality due to expertise |
| Warranty | No warranty | Often includes a warranty on work |
| Flexibility | Work at your own pace | Set schedule based on contractor availability |
Facts About Leveling a Second Level Floor During a Kitchen Remodel
Statistical Insights
Understanding the facts and statistics surrounding floor leveling can help homeowners make informed decisions during their kitchen remodel.
Cost of Floor Leveling
According to industry reports, the average cost of leveling a floor can range from $1.50 to $5 per square foot, depending on the method used and the severity of the unevenness.
- Self-leveling compounds typically cost between $1.50 and $3 per square foot.
- Professional labor can add an additional $2 to $5 per square foot.
Impact on Home Value
A well-executed kitchen remodel that includes leveling the floor can significantly increase a home’s value. According to Remodeling Magazine’s Cost vs. Value Report, homeowners can expect to recoup about 70% of their remodeling costs upon selling their home.
- A level floor ensures that high-quality materials can be installed properly, enhancing overall aesthetics.
- Potential buyers often view a well-maintained kitchen as a critical selling point.
Benefits of a Thoughtful Approach
Taking a thoughtful approach to leveling your second-level floor can yield multiple benefits.
Saving Money
Investing in proper leveling can prevent costly repairs in the future.
- Addressing unevenness now can help avoid issues like cracks in flooring or damage to appliances down the line.
- Proper leveling can also extend the lifespan of your flooring materials, reducing replacement costs.
Improving Comfort
A level floor contributes to a more comfortable living environment.
- It minimizes the risk of tripping and falling, enhancing safety in the kitchen.
- Even floors allow for better installation of cabinets and appliances, leading to a more functional workspace.
When to Start and What to Prioritize
Starting your floor leveling project at the right time and focusing on key aspects can lead to successful outcomes.
When to Start
Consider starting your project during the early stages of your kitchen remodel. This allows you to address any leveling issues before installing cabinets, countertops, or flooring materials.
- Plan for a timeline that includes time for curing if using self-leveling compounds.
- Check local weather conditions, as extreme temperatures can affect curing times.
What to Prioritize
Focus on the following priorities to ensure a successful leveling process:
- Assess the existing floor condition thoroughly.
- Choose the appropriate leveling method based on your budget and the severity of the unevenness.
- Ensure proper ventilation and safety measures during the leveling process.
- Recheck levelness after the initial work is completed.
Common Insights from Homeowners
Homeowners often share valuable experiences and advice in online forums. Below is a summary of common sentiments.
| Common Insight | Details |
|---|---|
| DIY vs. Professional | Many recommend hiring a professional for significant unevenness to avoid costly mistakes. |
| Importance of Assessment | Homeowners stress the need to thoroughly assess the subfloor before leveling. |
| Quality of Materials | Investing in quality self-leveling compounds pays off in the long run. |
| Patience is Key | Allowing proper curing time is crucial for a successful outcome. |
| Rechecking Levelness | Homeowners often emphasize the importance of double-checking levelness after work is completed. |